There is something deeply satisfying about pulling a loaf of freshly baked bread from your oven. The aroma that fills your home, the crackle of the crust, and the soft, warm interior are simple pleasures that store-bought bread just can’t replicate. While the art of bread making might seem complex and reserved for seasoned bakers, the truth is that anyone can learn to make a delicious loaf with just a few basic ingredients and a little patience.
This guide will walk you through every step of baking your first loaf of bread from scratch. We’ll cover the essential ingredients, the secrets of kneading and proofing, and the final bake to golden-brown perfection. We will also highlight common pitfalls to avoid, making the process approachable and rewarding. Get ready to turn your kitchen into a bakery and discover the joy of homemade bread.
Understanding the Core Ingredients
Bread making is a beautiful science, and it starts with four simple ingredients. Understanding the role each one plays is the first step to success.
- Flour: This is the foundation of your bread. All-purpose flour is perfectly fine for your first loaf, but bread flour, which has a higher protein content, will give your bread a chewier texture and better structure. The protein in flour forms gluten, which gives bread its stretchy, airy quality.
- Water: Water hydrates the flour, activating the proteins to form gluten. It also allows the yeast to do its work. The temperature of the water is important—too cold, and it won’t activate the yeast; too hot, and it will kill it. Lukewarm (around 100-110°F or 38-43°C) is just right. It should feel like a warm bath.
- Yeast: This is the living organism that makes your bread rise. It feeds on the sugars in the flour and releases carbon dioxide gas, which creates the bubbles that give bread its light and airy texture. We’ll be using active dry yeast for this recipe.
- Salt: Salt is crucial for more than just flavor. It strengthens the gluten structure, helping the dough hold its shape, and it regulates the yeast’s activity, preventing it from growing too quickly. Without salt, bread would be bland and rise too fast, only to collapse.
Your First Loaf: A Simple Step-by-Step Recipe
This no-fail recipe is designed for beginners and yields one beautiful, rustic loaf.
Yields: 1 loaf
Prep time: 20 minutes
Rise time: 2-3 hours
Bake time: 30-35 minutes
Ingredients:
- 1 ½ cups (355 ml) lukewarm water
- 2 ¼ teaspoons (7g) active dry yeast (one standard packet)
- 1 tablespoon (15g) granulated sugar or honey (optional, helps yeast)
- 3 ½ cups (420g) all-purpose or bread flour, plus more for dusting
- 2 teaspoons (10g) fine sea salt
Step 1: Activate the Yeast (Blooming)
In a large mixing bowl, combine the lukewarm water, yeast, and optional sugar or honey. Give it a gentle stir and let it sit for 5-10 minutes. You’ll know the yeast is active when the mixture becomes foamy and smells fragrant. If this doesn’t happen, your yeast may be old or your water was the wrong temperature. It’s best to start over with fresh yeast.
Step 2: Mix the Dough
Once the yeast is bubbly, add the flour and salt to the bowl. Use a wooden spoon or a spatula to mix everything together until a shaggy, sticky dough forms. Make sure there are no dry patches of flour left in the bowl. The dough will look messy at this stage—that’s perfectly normal.
Step 3: Knead the Dough
Kneading is the process of working the dough to develop gluten. This is what gives the bread its structure and chew. You can do this by hand or with a stand mixer.
By Hand:
- Lightly flour a clean, flat surface (like your countertop) and turn the dough out onto it.
- The dough will be sticky, so flour your hands as well.
- To knead, push the dough away from you with the heel of your hand, then fold it over on itself. Give the dough a quarter turn and repeat the process: push, fold, turn.
- Continue kneading for about 10-12 minutes. The dough will transform from a sticky mess into a smooth, elastic ball. You’ll know it’s ready when it springs back slowly if you poke it.

Common Mistake to Avoid: Don’t add too much extra flour while kneading. A little is necessary to prevent sticking, but too much will make your bread dense and dry.
Step 4: The First Rise (Bulk Fermentation)
Clean and lightly oil the mixing bowl you used earlier. Place the ball of dough inside and turn it over once to coat it lightly with oil. This prevents a dry crust from forming on top.
Cover the bowl with a clean kitchen towel or plastic wrap. Place it in a warm, draft-free spot in your kitchen to rise. A good spot is inside an off oven with the light on. Let the dough rise for 1.5 to 2 hours, or until it has doubled in size.
Step 5: Shape the Dough and Second Rise (Proofing)
Gently punch down the risen dough to release the air. Transfer it to your lightly floured surface and gently pat it into a rough rectangle.
To shape it into a loaf (or boule), fold the top third of the rectangle down to the middle, then fold the bottom third up, like you’re folding a letter. Rotate the dough 90 degrees and repeat the folding process. Finally, gently cup the dough with your hands and pull it toward you, creating surface tension that forms a tight, smooth ball.
Place the shaped loaf on a baking sheet lined with parchment paper. Cover it loosely with your towel or plastic wrap and let it rise again for another 45-60 minutes. It won’t double this time, but it will become visibly puffier.
Step 6: Prepare for Baking
About 20 minutes before the second rise is complete, preheat your oven to 425°F (220°C).
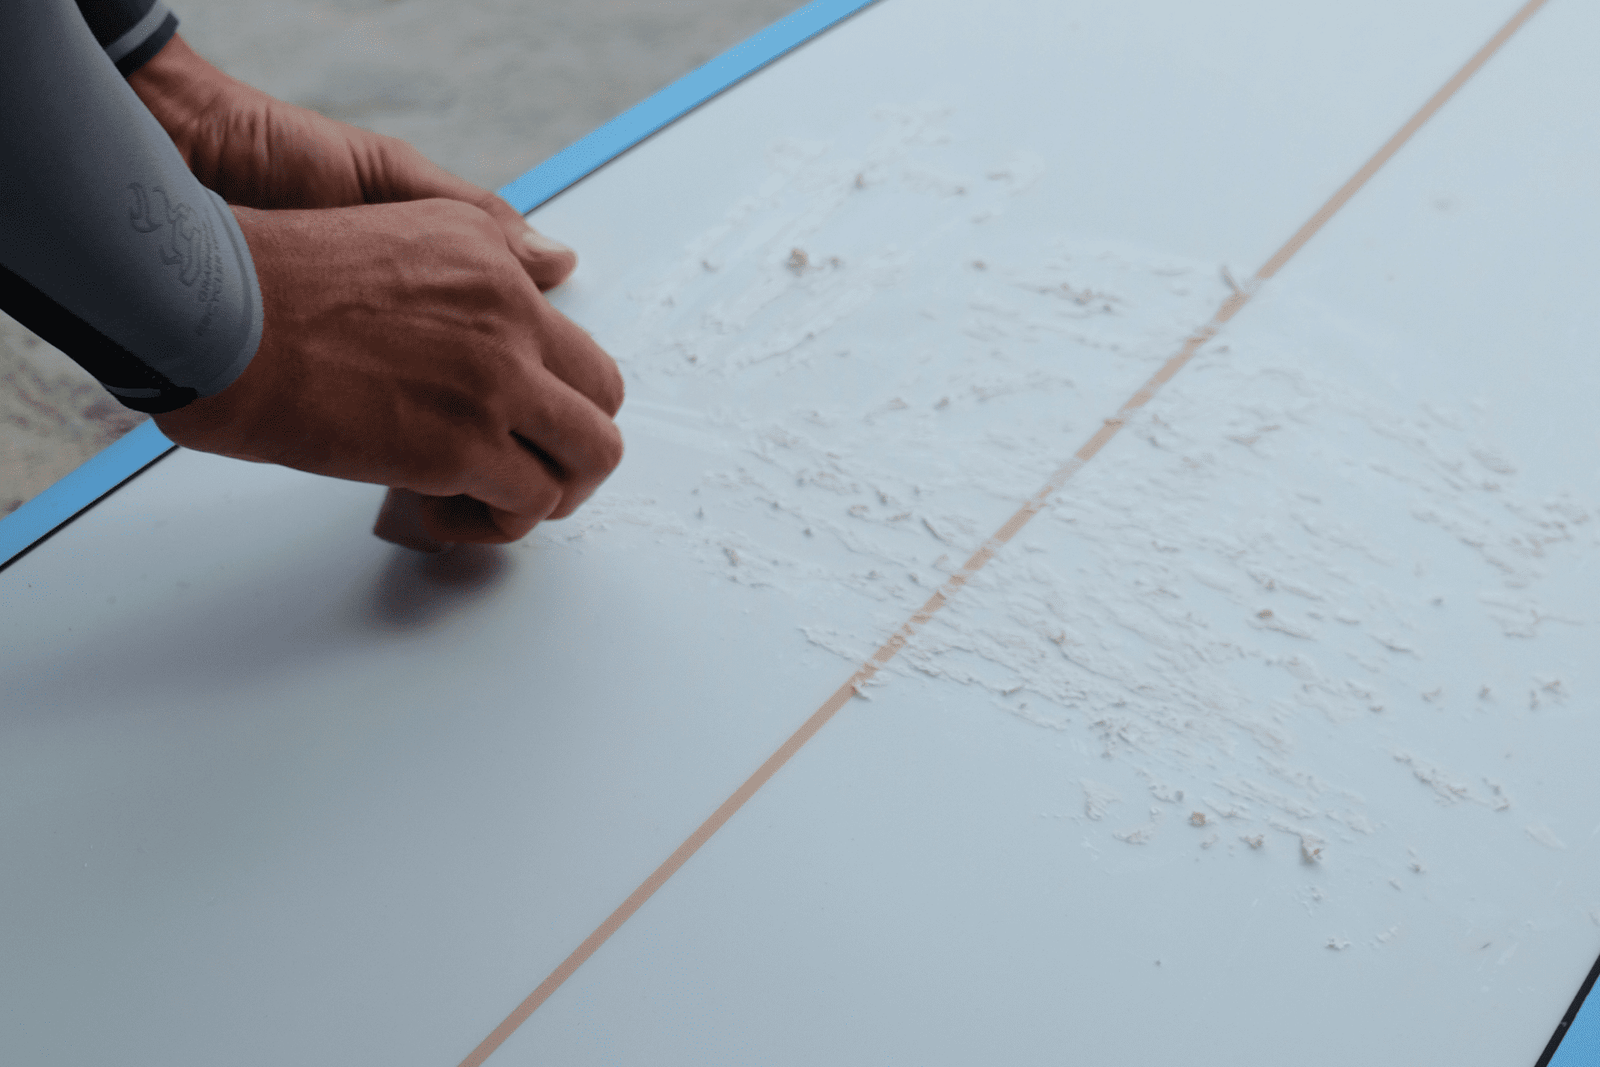
Just before baking, you can score the top of your loaf with a very sharp knife or a razor blade. Make one or two decisive slashes about half an inch deep. Scoring isn’t just for looks; it allows steam to escape in a controlled way, preventing the loaf from bursting open in unexpected places.
Step 7: Bake to Perfection
Place the baking sheet in the preheated oven. To create a crispier crust, you can add steam. Place a metal pan on the bottom rack of your oven while it preheats. Just after you put the bread in, carefully pour a cup of hot water into the hot pan and quickly close the oven door. The steam helps the crust expand and brown beautifully.
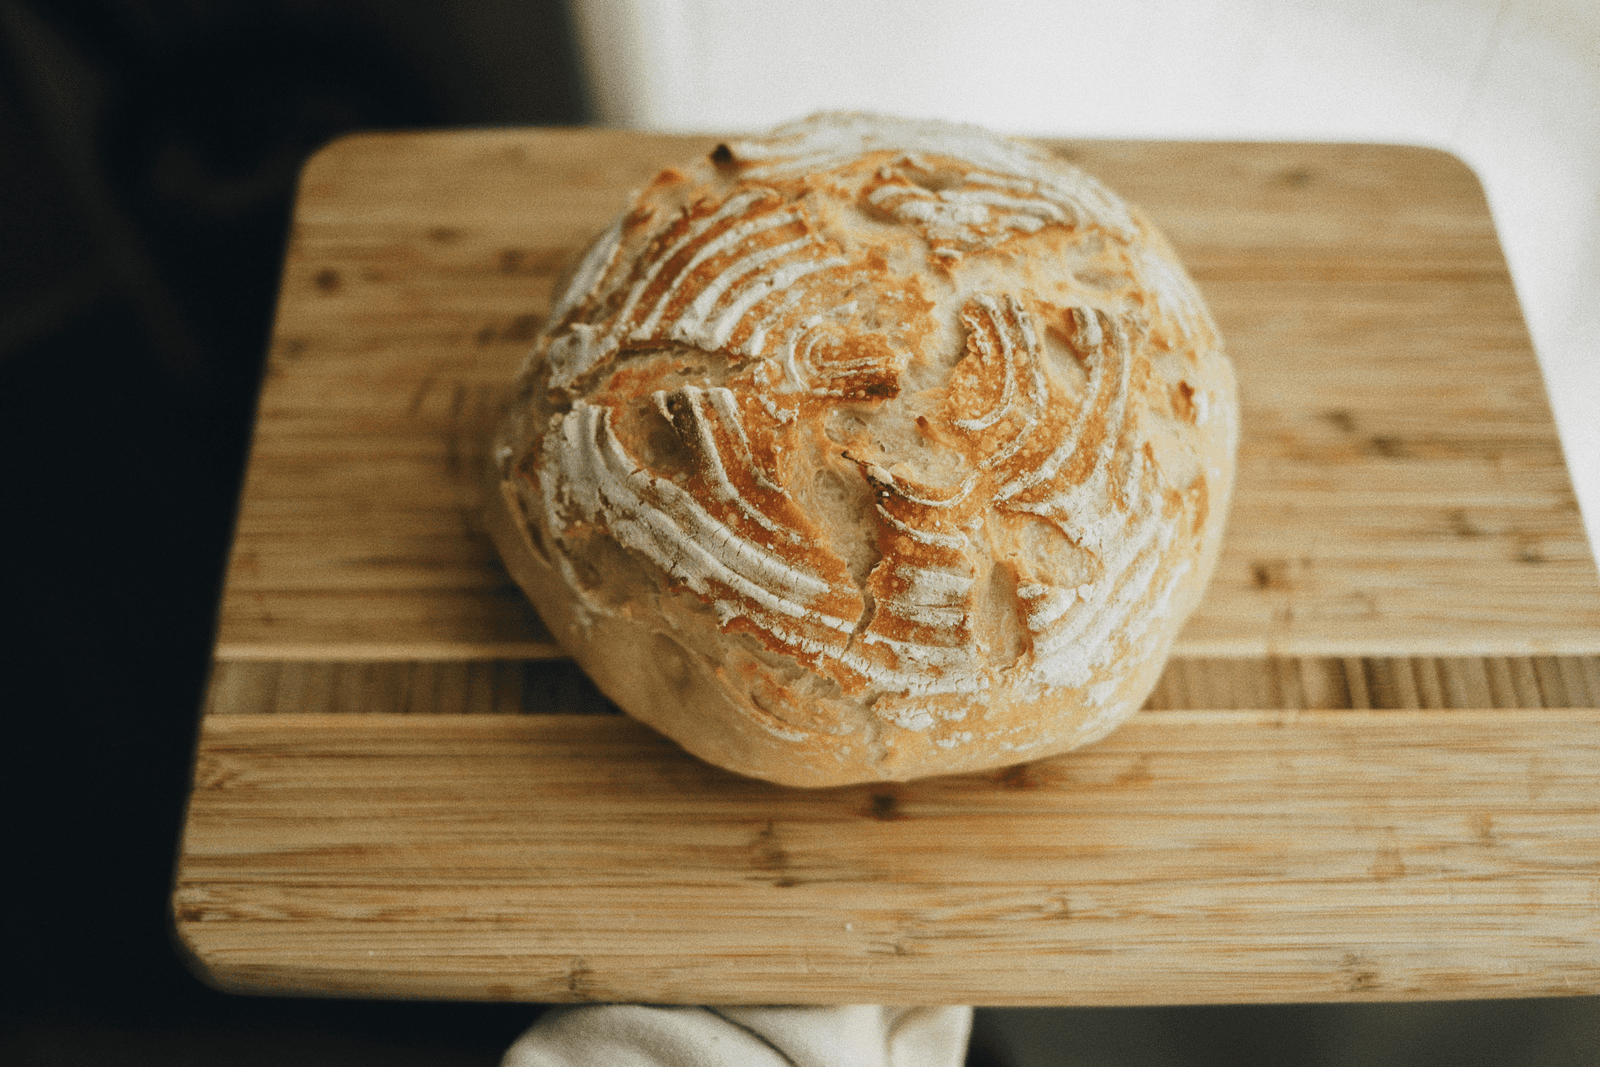
Bake for 30-35 minutes, or until the crust is a deep golden brown. You can test for doneness by carefully removing the loaf from the oven and tapping the bottom. It should sound hollow.
Step 8: Cool Down
This might be the hardest step! Transfer the hot loaf to a wire cooling rack and let it cool for at least one hour before slicing. Slicing into hot bread can cause the steamy interior to become gummy. The bread is still cooking internally as it cools, so this step is crucial for the perfect texture.
Achieve Your Perfect Loaf: Final Tips
- Use a Kitchen Scale: For more consistent results, measure your ingredients by weight instead of volume. It’s far more accurate.
- Don’t Rush the Rise: A slow, steady rise develops better flavor. If your kitchen is cool, the rise will take longer, and that’s okay.
- Trust Your Senses: Recipes are a guide, but conditions in your kitchen can vary. Learn to feel when your dough is properly kneaded and see when it has doubled in size.
Conclusion
Baking bread from scratch is a simple, meditative process that connects you to your food in a powerful way. It’s a skill that grows with practice, so don’t be discouraged if your first loaf isn’t perfect. Each attempt teaches you something new about the beautiful alchemy of flour, water, yeast, and salt.
Now that you have the foundational knowledge, you have a base to experiment with. Try adding herbs, cheese, or different types of flour. The journey of a home baker is full of delicious possibilities, and you’ve just taken the most important step.