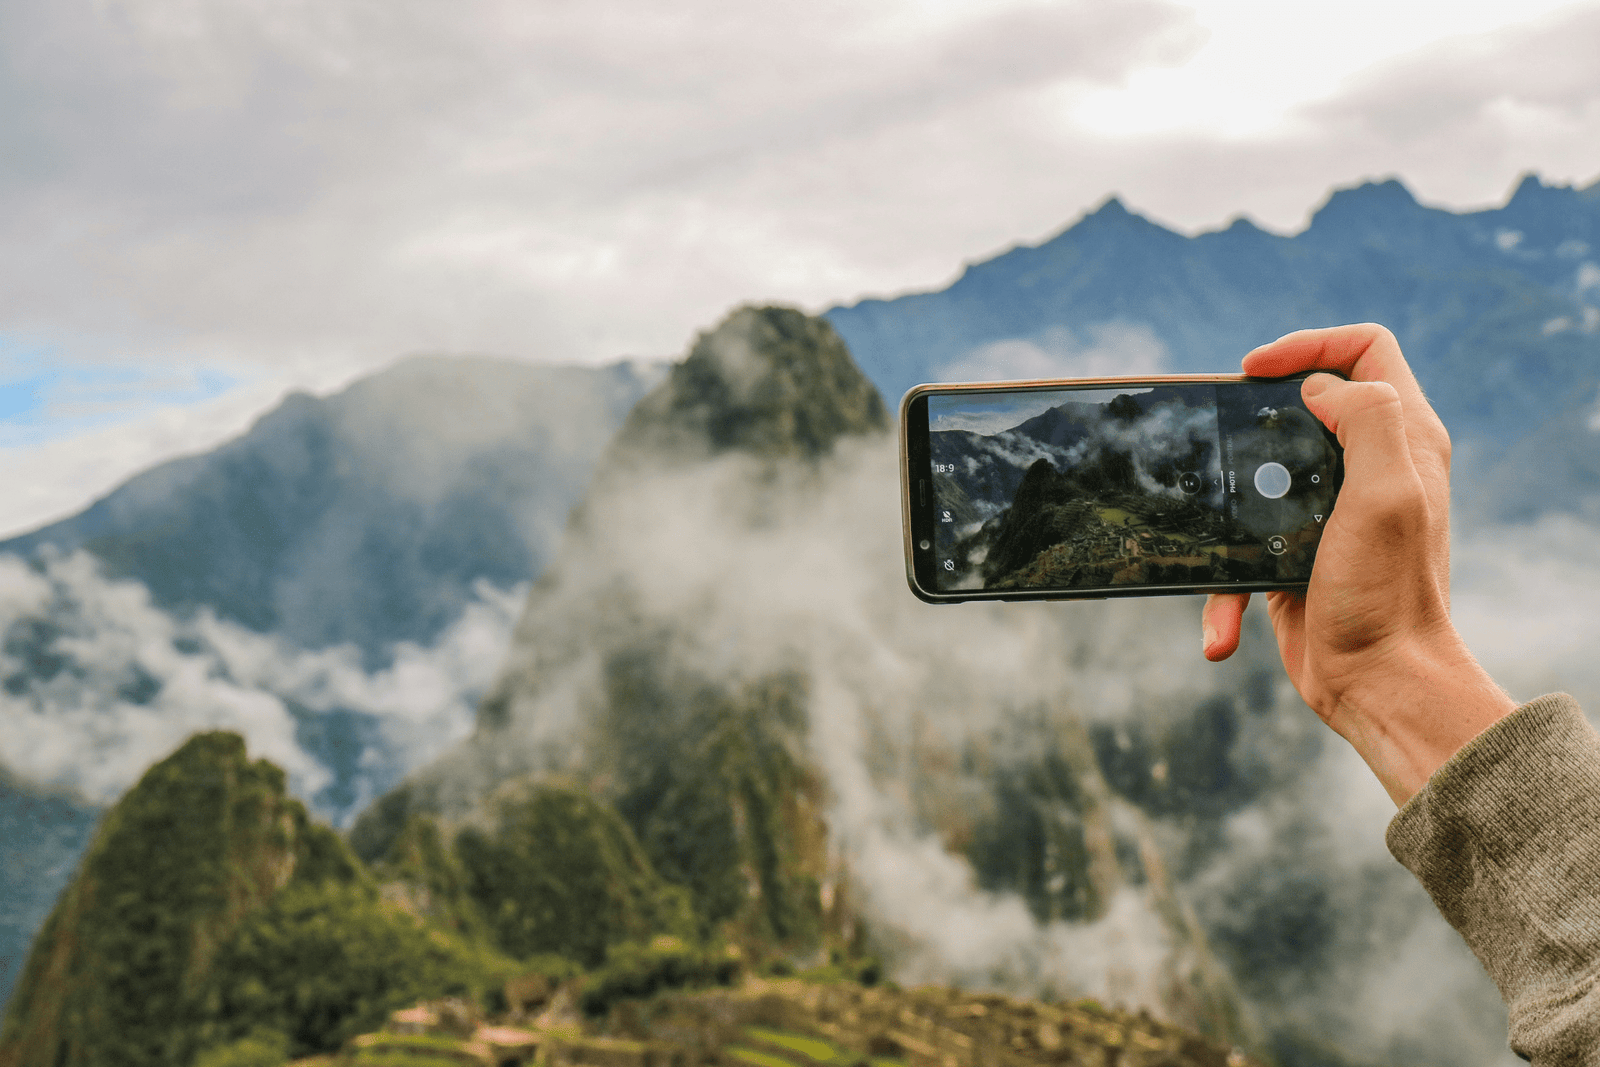
Your smartphone is one of the most powerful tools in your travel kit. Gone are the days when you needed a bulky DSLR camera to capture incredible travel memories. Today’s phones have advanced cameras capable of producing breathtaking images that can rival professional gear. The secret isn’t just the technology in your pocket; it’s knowing how to use it.
This guide will provide you with practical tips and techniques to elevate your smartphone travel photography. We will cover the fundamentals of composition and lighting, explore essential phone features, and touch on the art of editing. With this knowledge, you can move beyond simple snapshots and start creating stunning, story-driven photos that truly capture the magic of your adventures.
Master the Fundamentals of Composition
Composition is the art of arranging elements within your frame to create a visually pleasing and impactful image. It’s what separates a quick snap from a thoughtful photograph.
Activate Your Gridlines
The single most effective tool for improving your composition is your phone’s grid. Found in your camera settings, the grid overlays your screen with a set of lines based on the “rule of thirds.” This principle suggests that an image is more balanced and interesting when its key elements are placed along these lines or at their intersections. Instead of placing your subject dead center, try positioning it on one of the vertical lines. For landscapes, align the horizon with the top or bottom horizontal line instead of the middle.
Find a Unique Perspective
Most people take photos from eye level. To make your images stand out, change your perspective. Get low to the ground for a dramatic, larger-than-life look, or find a higher vantage point to capture a sweeping view. Shooting through a doorway, a window, or even natural foliage can create a “frame within a frame,” adding depth and context to your shot. Don’t be afraid to move around and experiment with different angles to find the most compelling view.
Look for Leading Lines
Leading lines are visual elements within your photo—like roads, fences, rivers, or architectural details—that guide the viewer’s eye through the image, often toward the main subject. They create a sense of depth and movement, making your photo more dynamic and engaging. When you’re framing your shot, look for these natural lines and use them to draw attention to what matters most.
Harness the Power of Light
Light is the most critical element in photography. Understanding how to use it will dramatically improve the quality of your images. The best camera in the world can’t save a photo taken in poor light.
Embrace the Golden Hour


The “golden hour” is the period shortly after sunrise and before sunset when the light is soft, warm, and diffused. This flattering light minimizes harsh shadows and creates a beautiful, golden glow that enhances any scene. Whenever possible, plan to shoot your most important photos during these times. The dramatic, long shadows can also add texture and mood to your images.
Avoid Harsh Midday Sun
The light at midday is directly overhead, creating strong, unflattering shadows, especially on people’s faces. It also tends to wash out colors, making your photos look flat. If you must shoot in the middle of the day, seek out “open shade.” This is a bright area that is not in direct sunlight, such as under a large tree, in the shadow of a building, or beneath an awning. The light here is even and soft, which is far more flattering for portraits and general scenes.
Use Light to Tell a Story
Don’t just shoot with the light behind you. Experiment with backlighting, where the light source is behind your subject, to create a beautiful rim light or a dramatic silhouette. Sidelight can reveal texture and create a sense of three-dimensionality. Pay attention to how light interacts with your subject and use it to evoke a specific mood, whether it’s the bright cheerfulness of a sunny day or the moody atmosphere of a cloudy one.
Use Your Smartphone’s Features Like a Pro
Your phone’s camera app is packed with features designed to help you take better photos. Learning to use them effectively will give you much more creative control.
HDR (High Dynamic Range) Mode
HDR is your best friend when shooting scenes with both very bright and very dark areas, like a sunset landscape or a room with a bright window. When you take a photo in HDR mode, your phone actually captures multiple images at different exposures and blends them together. This process brings out the details in both the highlights (the bright parts) and the shadows (the dark parts), creating a more balanced and detailed image that is closer to what your eye can see.
Portrait Mode for Professional-Looking Shots
Portrait mode uses software to create a “bokeh” effect—a beautifully blurred background that makes your subject pop. This is perfect for taking photos of people, but it’s also a fantastic tool for food photography or for isolating an interesting detail in a busy scene. You can often adjust the intensity of the blur both before and after you take the shot, giving you precise control over the final look.
Manually Adjust Focus and Exposure
Don’t just point and shoot. Your phone gives you more control than you think. Tap on your screen to set the focus point. Once you tap, a sun icon or slider will often appear. You can drag this up or down to manually adjust the exposure, making the image brighter or darker. This is incredibly useful for correcting a shot that is too dark or for preventing a bright sky from being completely blown out.
The Art of Editing: Bringing Your Photos to Life
Editing is where you can truly make your photos shine. A few simple adjustments can transform a good photo into a great one. While your phone’s built-in editor is a good start, dedicated apps offer more power and precision.
Essential Editing Adjustments
You don’t need to be a professional editor to make a big impact. Focus on these basic adjustments:
- Exposure/Brightness: Lighten or darken the overall image.
- Contrast: Increase the difference between the light and dark areas to make your photo pop.
- Saturation/Vibrance: Enhance the colors. Vibrance is often a better choice as it boosts muted colors without oversaturating skin tones.
- Highlights/Shadows: Recover detail by darkening the brightest parts (highlights) or lightening the darkest parts (shadows).
- Crop & Straighten: Improve your composition by cropping out distracting elements or straightening a crooked horizon.
Recommended Editing Apps
- Snapseed (Free): A powerful, user-friendly editor from Google with a wide range of tools, from basic adjustments to advanced features like selective edits and healing brushes.
- VSCO (Freemium): Famous for its film-like filters (called presets), VSCO is great for creating a consistent aesthetic for your travel photos.
- Adobe Lightroom Mobile (Freemium): The industry standard for photo editing, the mobile version offers incredibly powerful tools for color correction and fine-tuning. The free version is more than enough for most users.
Conclusion: Tell a Story with Your Photos
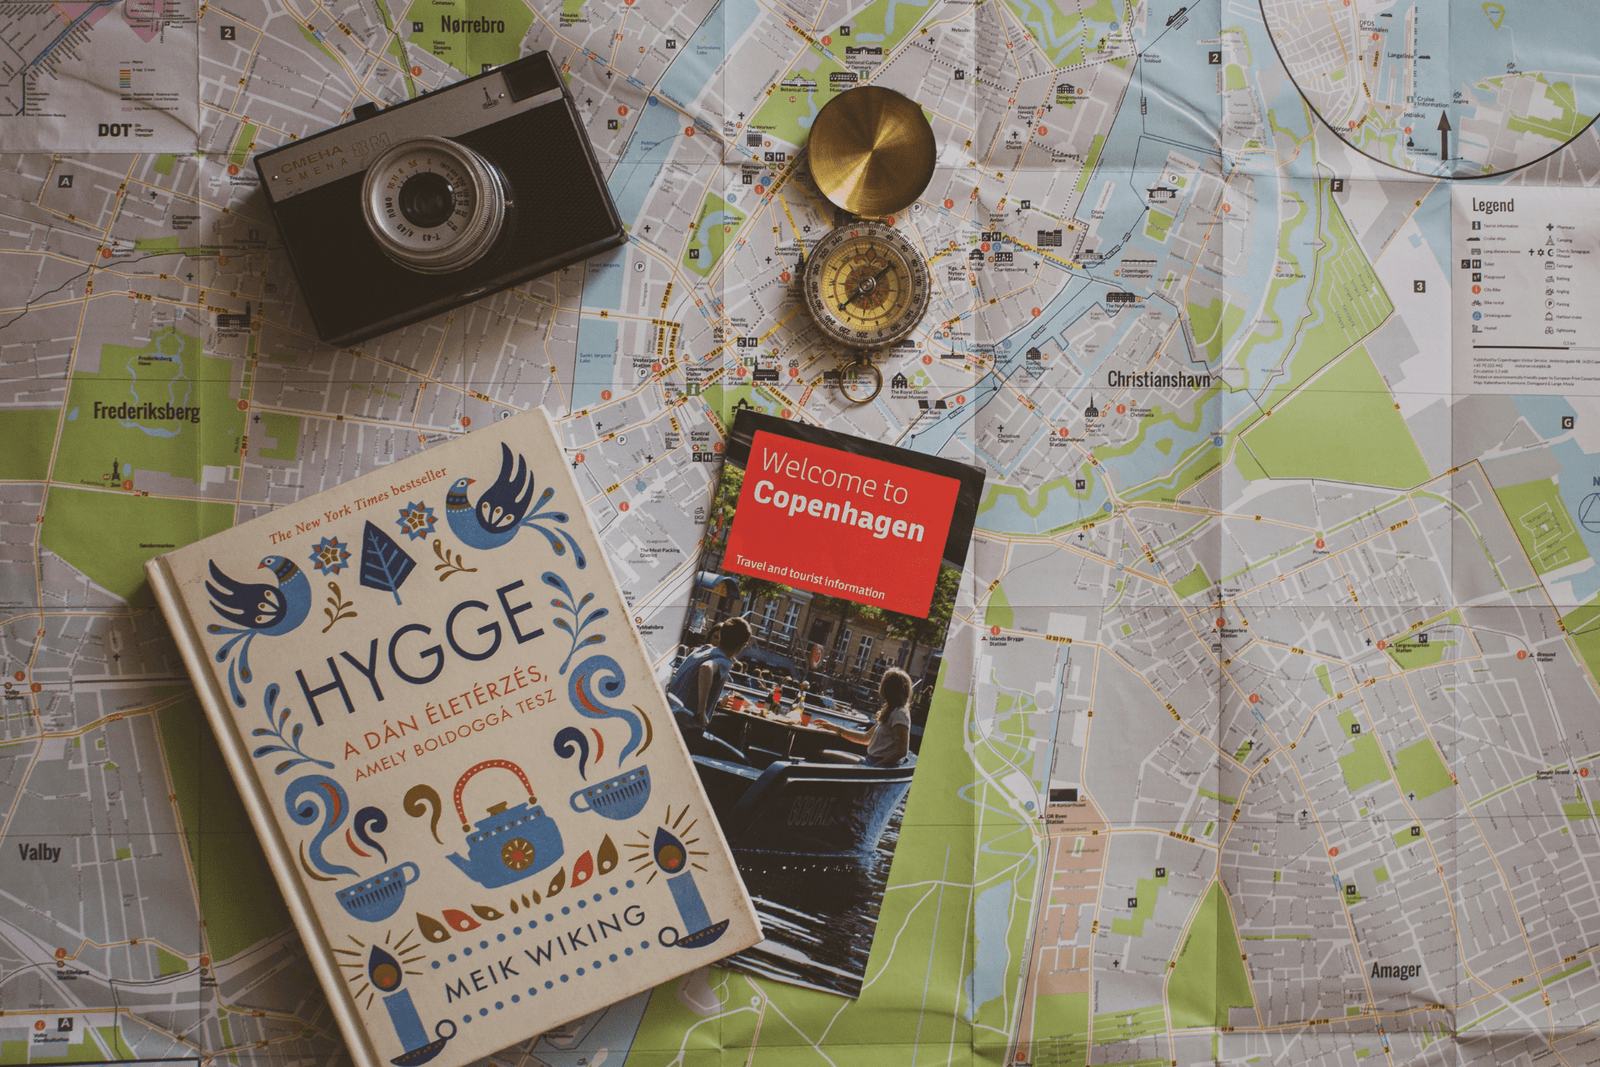
Ultimately, great travel photography is about more than just technical perfection; it’s about telling a story. Capture not just the grand landscapes but also the small details: the texture of a cobblestone street, the steam rising from a cup of coffee, the hands of a local artisan at work. Think about the feeling of a place and try to convey that through your images.
The best camera is the one you have with you, and your smartphone is always ready. So activate your gridlines, look for the best light, and start experimenting. By practicing these techniques, you’ll be well on your way to capturing stunning travel photos that you’ll cherish for a lifetime.